Fixing Model Rotation / Pivots
Here is a small guide to fixing model rotation in Unity using Blender as this seems to be a common problem.
When setting up NWH Vehicle Physics 2 (or any other asset in Unity) it is important to use correct model rotation.
Unity assumes Z-axis points forward, X-axis to the right and Y-axis upwards.
Unity has an official guide on fixing model rotation here, but that is more of a fix for those that do not want to use 3D modelling software than a solution.
To fix model rotation we are going to use Blender, an open source 3D modelling software that is more or less a standard in the indie developer community. If you do not have it installed already, get it here.
Checking Rotation
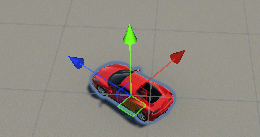
To make sure the object has correct rotation switch to “Local” handle rotation. This will show the axes of currently active tool relative to the currently selected object and not the world axes as is the default setting.
Selected object should now look like this:
If the arrows are pointing in some other direction - model rotation is incorrect. If the arrows are not positioned at the center (or required) position then the Pivot is incorrect too. More about that in the next section.
Fixing Rotation
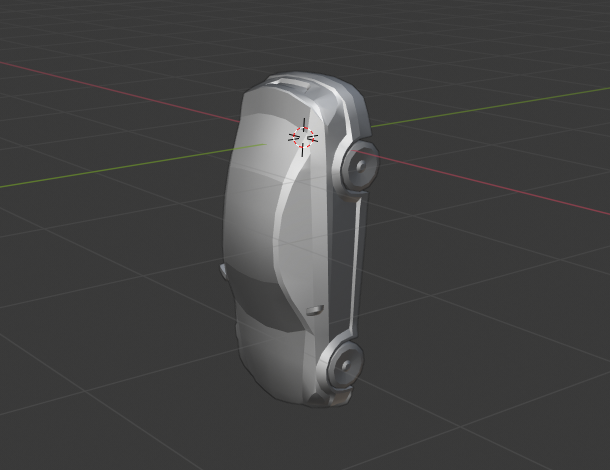
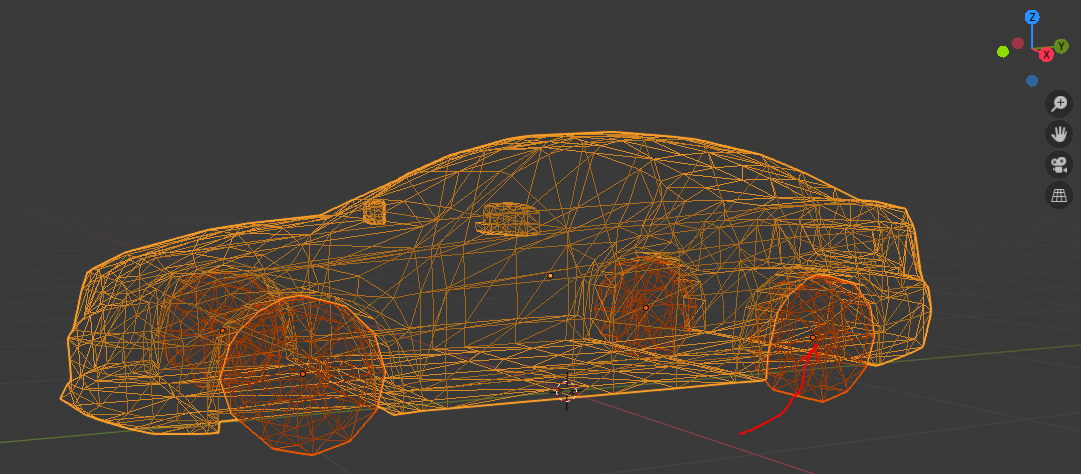
Open Blender 2.8+ and import your model (File ⇒ Import ⇒ [YourFileFormat]). Upon import your model might look something like this:
It is a bit confusing at first because blender uses different coordinate system from Unity - namely Y-forward, X-right, Z-up.
To fix the rotation do the following:
- Select the vehicle (A key to select all).
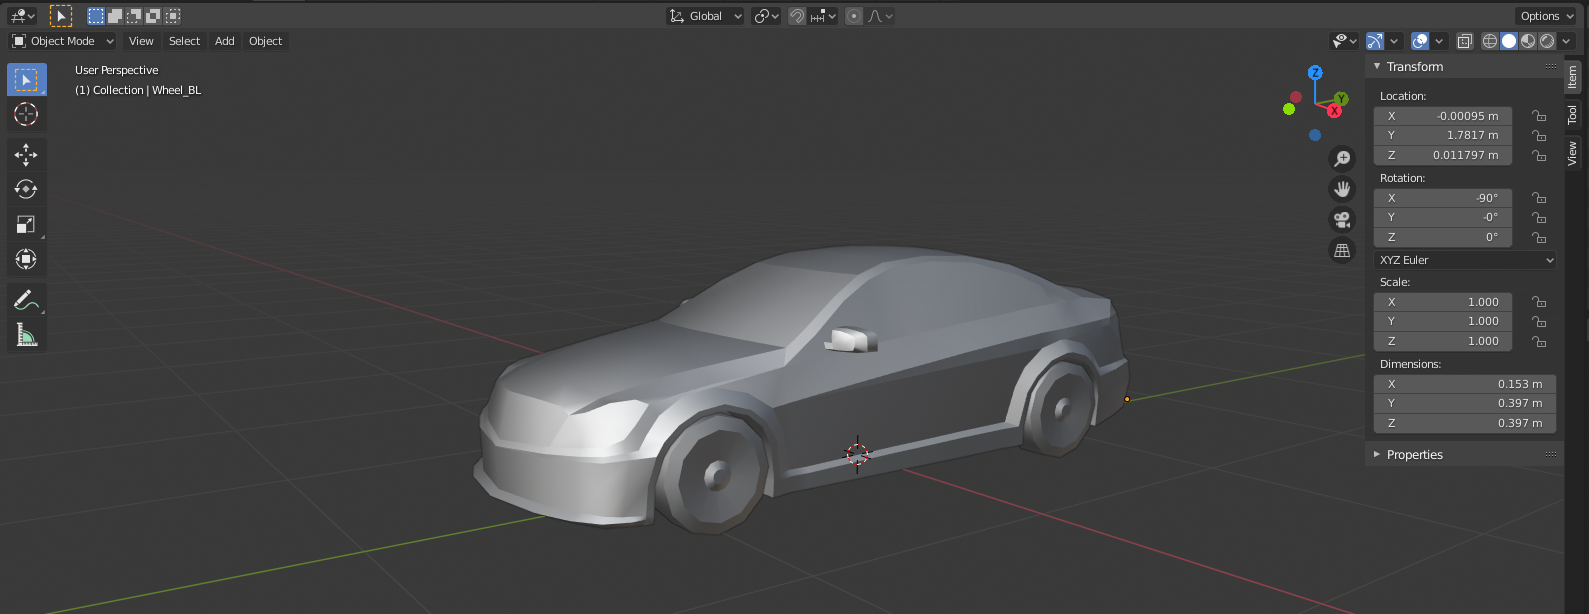
- Press R (Rotate) folowed by X, Y or Z depending on which axis you want to rotate around. When finished the model should towards -Y with Z being up and X being left (check the image below and the axis gizmo).
Model should point towards -Y axis for it to properly export to Unity.
- Press G (Move) followed by X, Y or Z depending on which axis you want to move along. It is a good idea to center the vehicle while at it.
- After rotating the Rotation will show as, e.g. (-90, 0, 0). To apply this rotation to the model and reset it to 0 use Ctrl + A ⇒ Rotation.
- If needed repeat the process for individual vehicle parts, such as wheels. Each moving part (wheels, steering wheel) should also have correct rotation.
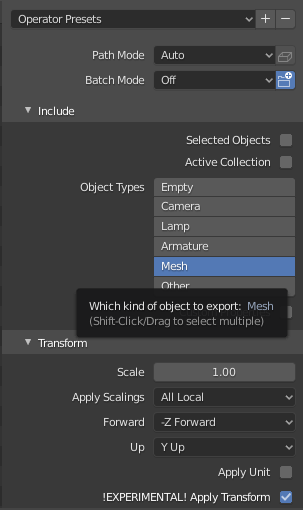
- When happy with the result go to File ⇒ Export ⇒ .fbx and make sure your settings look like this:
- Open Unity and check the results.
Fixing Pivot
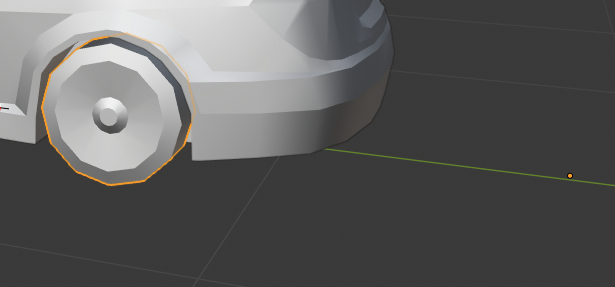
Pivot is the point around which the object rotation will happen. If your wheel pivot is incorrect it will rotate off-center.
To check for correct pivot set the tool handle position to “Pivot” (instead of default “Center”) and select your object. Wheel pivot should be in the exact center to the wheel, not offset in any direction.
Pivot in Blender is marked with small yellow dot:
To center the pivot select the object and press F3 and type “Set Origin” in the search box and then select Origin To Center Of Mass (Volume). The yellow dot should now be in center:
When pivots look like in the image above the pivots are properly set. Export the model to FBX using File ⇒ Export menu.

